Apply for the Zimbabwe eVisa online at evisa.gov.zw in approximately 20 minutes by following 5 steps: create an account, fill the application form, upload required documents, pay $30, and wait 3–7 working days for your Letter of Authority by email. This guide walks through every step in detail, including what to prepare, how to track your application, and how to avoid the most common mistakes.
Before You Start — What You Need to Prepare
Gather all required materials before starting your Zimbabwe eVisa application. Having everything ready prevents interruptions and reduces errors that cause delays.
- ✅ Valid passport — must be valid for at least 6 months beyond your travel dates, with minimum 2 blank pages
- ✅ Passport bio page scan — clear, full-colour image in PDF or JPEG format, maximum 5MB
- ✅ Digital passport photo — white/plain background, full face, no glasses, 35×45mm (min 600×600px JPEG)
- ✅ Travel itinerary — confirmed flight booking showing entry and exit dates
- ✅ Accommodation proof — hotel booking, safari lodge confirmation, or host’s invitation letter
- ✅ Credit/debit card — Visa or Mastercard to pay the $30 application fee
- ✅ Email address — valid and regularly checked; approval Letter of Authority will be sent here
For a complete document checklist including business travelers, minors, and transit passengers, see our Zimbabwe eVisa Requirements page.
Step-by-Step Zimbabwe eVisa Application Process
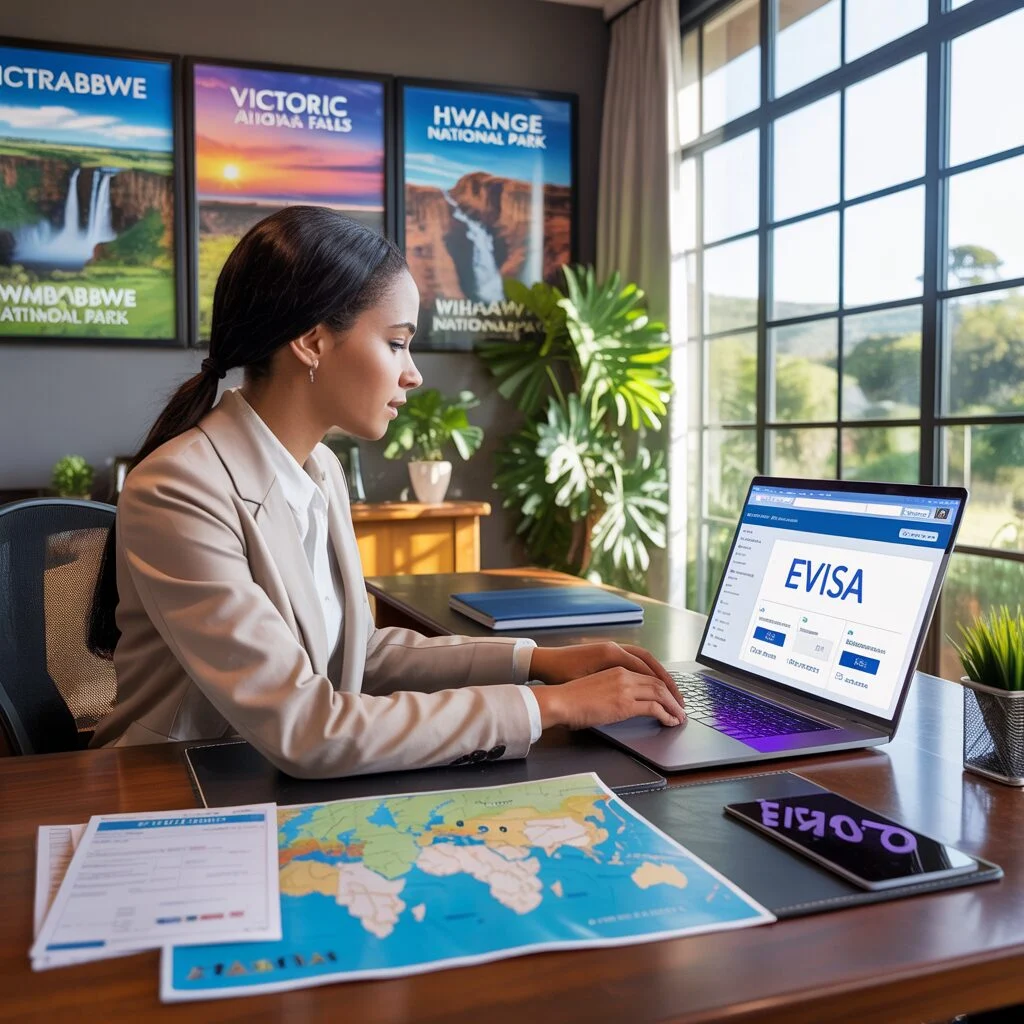
The Zimbabwe eVisa application at evisa.gov.zw takes approximately 20 minutes across 5 clear steps. Always use the official government portal — the only legitimate site is evisa.gov.zw (a .gov.zw domain). Third-party sites impersonate it and charge excessive fees.
Step 1 — Create Your Account on evisa.gov.zw
Navigate to https://evisa.gov.zw and click “Start the Visa Process.” You will be prompted to create a free account using your email address and a password.
Important: Use an email address you check regularly and that accepts foreign emails. Gmail, Outlook, and Yahoo are all fine. Avoid corporate email addresses that may filter government emails as spam.
After registration, verify your email address by clicking the link in the confirmation email. Check your spam folder if you don’t see it within 5 minutes.
Step 2 — Complete the Online Application Form
Log into your new account and begin the eVisa application form. You will need to provide:
- Personal details — full name (exactly as in passport), date of birth, nationality
- Passport details — passport number, issue date, expiry date, issuing country
- Travel details — intended arrival and departure dates, port of entry (airport or border)
- Purpose of visit — tourism, business, transit, conference, or visiting family
- Accommodation address in Zimbabwe — hotel name and address, or host’s address
- Emergency contact — name and phone number
Double-check everything before proceeding. Name spelling, passport number, and travel dates must match your actual documents exactly. Errors are the leading cause of rejections and require reapplication (with a new non-refundable fee).
Step 3 — Upload Required Documents
After completing the form, upload your supporting documents. Accepted file formats: PDF or JPEG only, maximum 5MB per file.
Required uploads for all applicants:
- Passport bio data page scan (clear, colour, all details readable)
- Passport-size photo (white background, no glasses, 35×45mm)
Additional uploads depending on visa type:
- Business: Invitation letter from Zimbabwean company + company registration certificate
- Conference: Conference invitation or registration confirmation
- Minors under 18: Birth certificate + parental consent letter + copies of parents’ passports
- Yellow fever risk countries: Valid Yellow Fever vaccination certificate
Photo upload tip: The most common cause of Zimbabwe eVisa rejection is a passport photo with the wrong background. Your photo must have a plain white or very light grey background. Selfies against walls, outdoors, or with busy backgrounds are rejected.
Step 4 — Pay the eVisa Fee
After document upload, you will be directed to the payment page. Select your visa type and confirm the fee:
- Single Entry Tourist eVisa — $30 USD
- Double Entry Tourist eVisa — $45 USD
- KAZA UniVisa (Zimbabwe + Zambia) — $50 USD
- Business eVisa (Single) — $30 USD
- Transit Visa — $20 USD
Payment is accepted by Visa or Mastercard. The transaction is processed securely. All Zimbabwe eVisa fees are non-refundable — even if your application is rejected or you cancel your trip. Confirm all details are correct before paying.
Step 5 — Wait and Track Your Application
After payment, your Zimbabwe eVisa enters processing. Standard processing time is 3–7 working days (excluding weekends and Zimbabwe public holidays).
During this time:
- Log into your evisa.gov.zw account to check application status using your reference number
- Check your email inbox and spam/junk folder daily — the approval email sometimes lands in spam
- Do not contact the Department of Immigration unless it has been more than 10 working days
Apply at least 2 weeks before departure to allow buffer time for queries or resubmission if needed.
How to Track Your Zimbabwe eVisa Application Status
Log in to your account at evisa.gov.zw with your email and password. Navigate to “Track Your Application” and enter your reference number (provided after payment). Status updates:
- Pending — Application received, under review
- In Progress — Being processed by the Department of Immigration
- Approved — eVisa granted; check email for Letter of Authority PDF
- Rejected — Application denied; email will state the reason
- Additional Documents Required — Upload the requested documents and resubmit
What Happens After Approval — Your Letter of Authority
Your approved Zimbabwe eVisa arrives as a PDF document called the Letter of Authority. This is your visa — it must be presented at your Zimbabwe port of entry alongside your valid passport.
What to do with your Letter of Authority:
- 📥 Download the PDF from your email immediately upon receiving it
- 🖨️ Print it in colour — some border officials prefer colour prints; black & white may cause questions
- 📱 Keep a digital backup — save it on your phone and in cloud storage
- ✅ Verify all details — name, passport number, travel dates, and visa type should all be correct
- ✈️ Carry it to the border — present together with your passport when entering Zimbabwe
If you notice errors on your Letter of Authority (wrong name spelling, wrong dates), contact the Zimbabwe Department of Immigration through evisa.gov.zw before your travel date.
Common Mistakes to Avoid in the Zimbabwe eVisa Application
The most common Zimbabwe eVisa rejection reasons are all preventable. Here are the top mistakes and how to avoid them:
-
Wrong passport photo background
The photo must have a plain white or very light background. Coloured walls, outdoor backgrounds, or patterned backgrounds lead to rejection. If needed, use a free background removal tool to fix your photo before uploading. -
Expired or soon-to-expire passport
Your passport must be valid for at least 6 months beyond your intended last day in Zimbabwe. If your passport expires sooner, renew it before applying. -
Name mismatch
Enter your name exactly as it appears in your passport, including middle names, hyphens, and accented characters. Any mismatch may cause rejection or entry issues. -
Low-quality document scans
Blurry, cropped, or partially readable passport scans are rejected. Scan under good lighting; all text and the photo must be clearly visible. -
Applying too late
Processing takes up to 7 working days. Apply at least 2 weeks before departure, not the day before travel. -
Missing spam folder check
Approval and rejection emails from evisa.gov.zw frequently land in spam. Check your spam folder daily after submission.
Frequently Asked Questions — How to Apply for Zimbabwe eVisa
Where do I apply for the Zimbabwe eVisa?
How long does it take to complete the Zimbabwe eVisa application?
What is a Letter of Authority and do I need to print it?
Can I track my Zimbabwe eVisa application status?
What happens if my Zimbabwe eVisa application is rejected?
Can I apply for Zimbabwe eVisa for multiple family members?
What payment methods are accepted for Zimbabwe eVisa?
I didn’t receive my Zimbabwe eVisa approval email — what should I do?
Need to check your documents before applying? See the full Zimbabwe eVisa Requirements checklist. For a general overview of fees, categories, and KAZA UniVisa, visit the Zimbabwe eVisa home page.